
I’ve tried a number of times to make gluten-free baked goods for the various people in my life who cannot tolerate gluten, but I don’t usually have too much success. I’ve finally realized that even when you use the cup-to-cup gluten-free flour, however, that you need to add something else to make up for the lack of gluten. In other words, you can’t just replace the flour and expect to get a nice moist loaf with a good crumb.
Anyway, some friends are visiting for the weekend, and one cannot tolerate gluten, so I’m trying my hand YET AGAIN at a gluten-free loaf. James picked me up some Bob’s Red Mill Gluten-Free Flour, which is a collection of various different bean and rice flours. I consulted all my bread books, however, and all of the gluten-free recipes require xanthan gum, and I have no xanthan gum and am on an island with a very small general store that is unlikely to carry xanthan gum.
I do, however, happen to have some psyllium husk (strangely!!), which can apparently be used in place of the elusive xanthan gum, and I found this very straightforward recipe online. And the woman in the video is so adorable I can’t stand it. She reminds me of every professor in my doctoral program:
So the recipe is….
Vegan Gluten-Free Bread
- 2 cups (500 grams by weight) of Bob’s Gluten-Free All Purpose Flour
- 2½ tbsp psyllium husk
- 2 cups warm water
- 2 tbsp vegetable oil
- 1 tbsp sugar
- 2 tsp yeast
- 2 tsp salt
- 1 tsp vinegar
Mix water, yeast, sugar, salt, and vinegar and let sit for a few minutes while you mix the dry items.
Mix the flour and psyllium husk in a stand mixer with a whisk attachment. Add the oil and the rest of the wet ingredients and mix thoroughly.
Pour into a loaf pan sprayed with cooking oil. Cover and place in a warm spot for an hour or two.
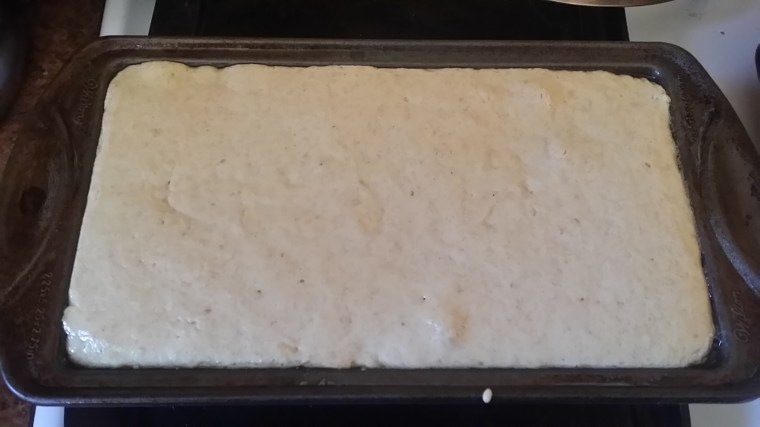
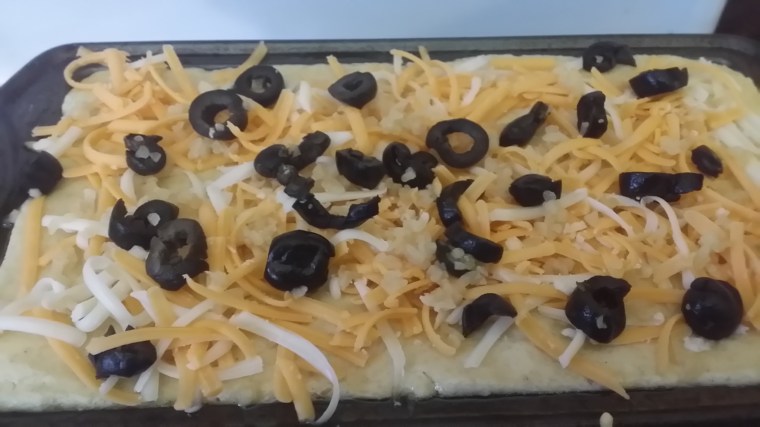
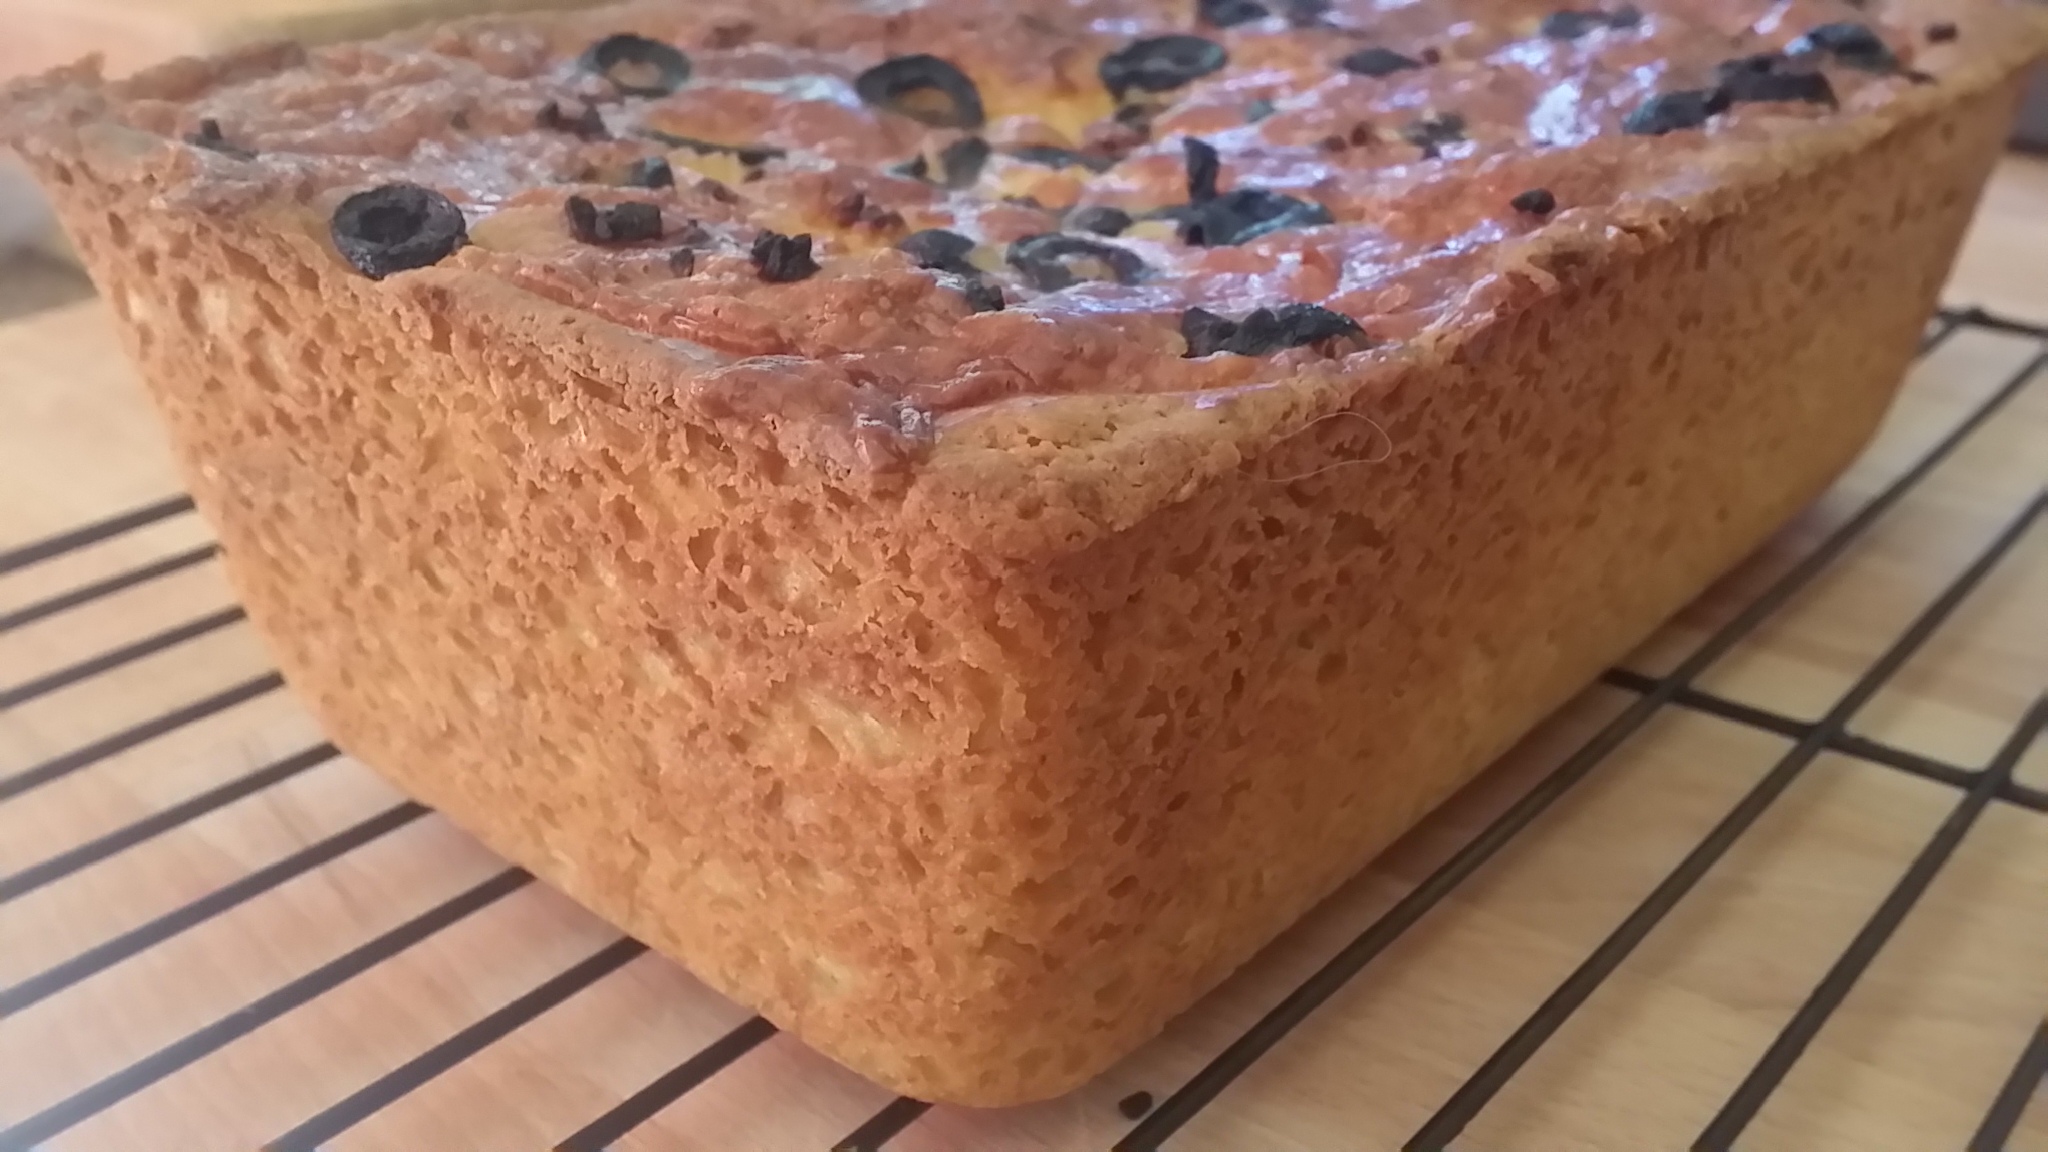
My loaf doubled in size within an hour, so I popped it into a 410-degree oven for 40 minutes….BUUUUUT, I was so worried the crust would be unappetizing looking that I covered my vegan, gluten-free loaf in garlic, sliced black olives and CHEESE!!!
No worries though: Susan’s the only one who will be eating it, and she’s not vegan.
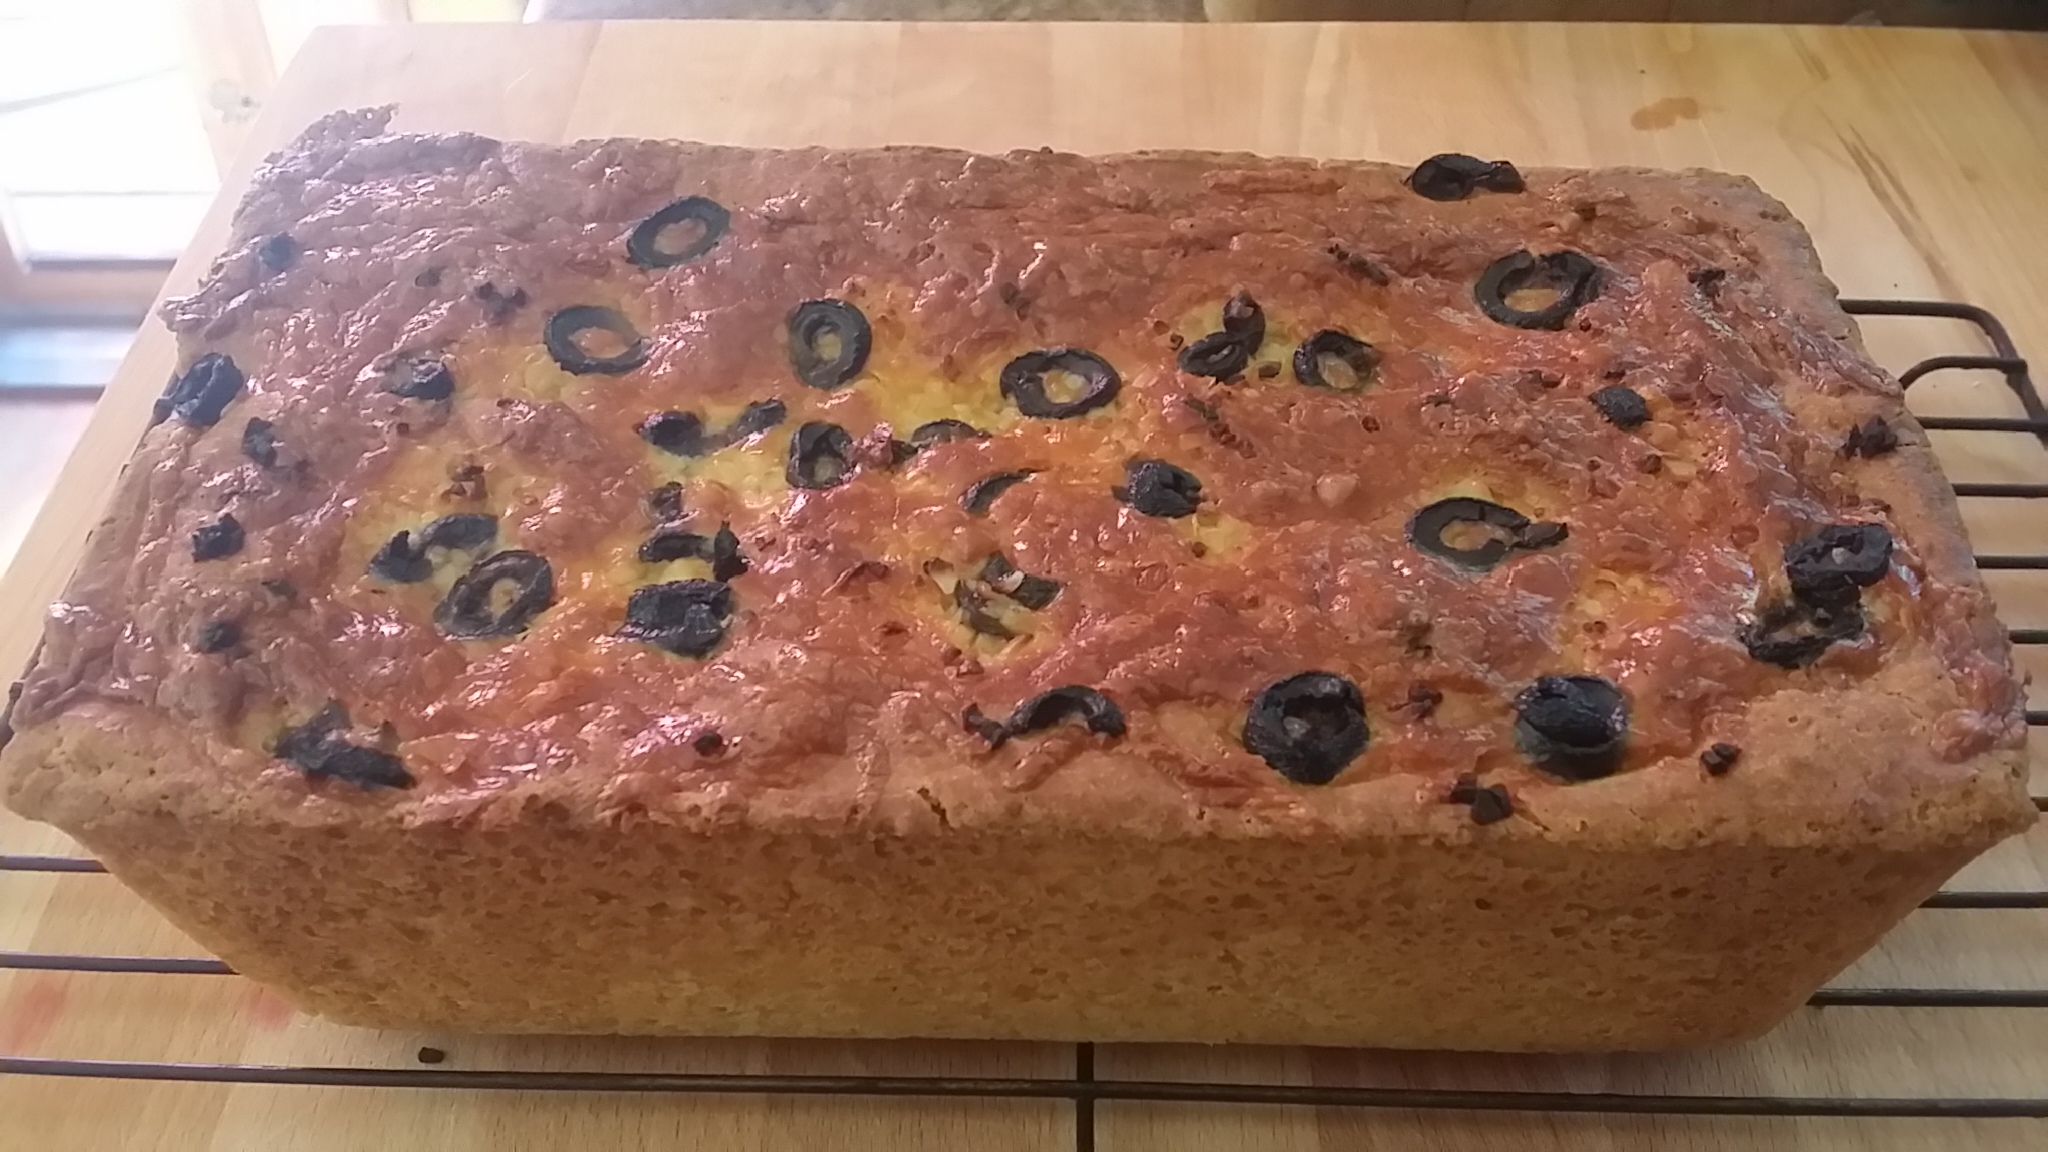
Also, though the original instructions did not indicate to do so, I poured a cup of water into a baking pan beneath to loaf to create some steam and make a nice crust. DON’T FORGET THIS STEP BECAUSE I’M CONVINCED IT’S WHAT CREATED THE NICE CRUST!!
And the crust turned out MUCH better than I expected. Indeed, the one in the video doesn’t have a crust nearly as appetizing looking!
 Meanwhile, I was messaging with niece, Sharon, who has done some gluten-free cooking for her son and mentioned that I was worried the loaf would taste bad. Her response made me laugh out loud: “Don’t worry – all gluten free bread tastes like crap and feels like a brick. So even if you think it’s bad, it’s probably not by gluten free standards.” HAHAHAHAHAHA!
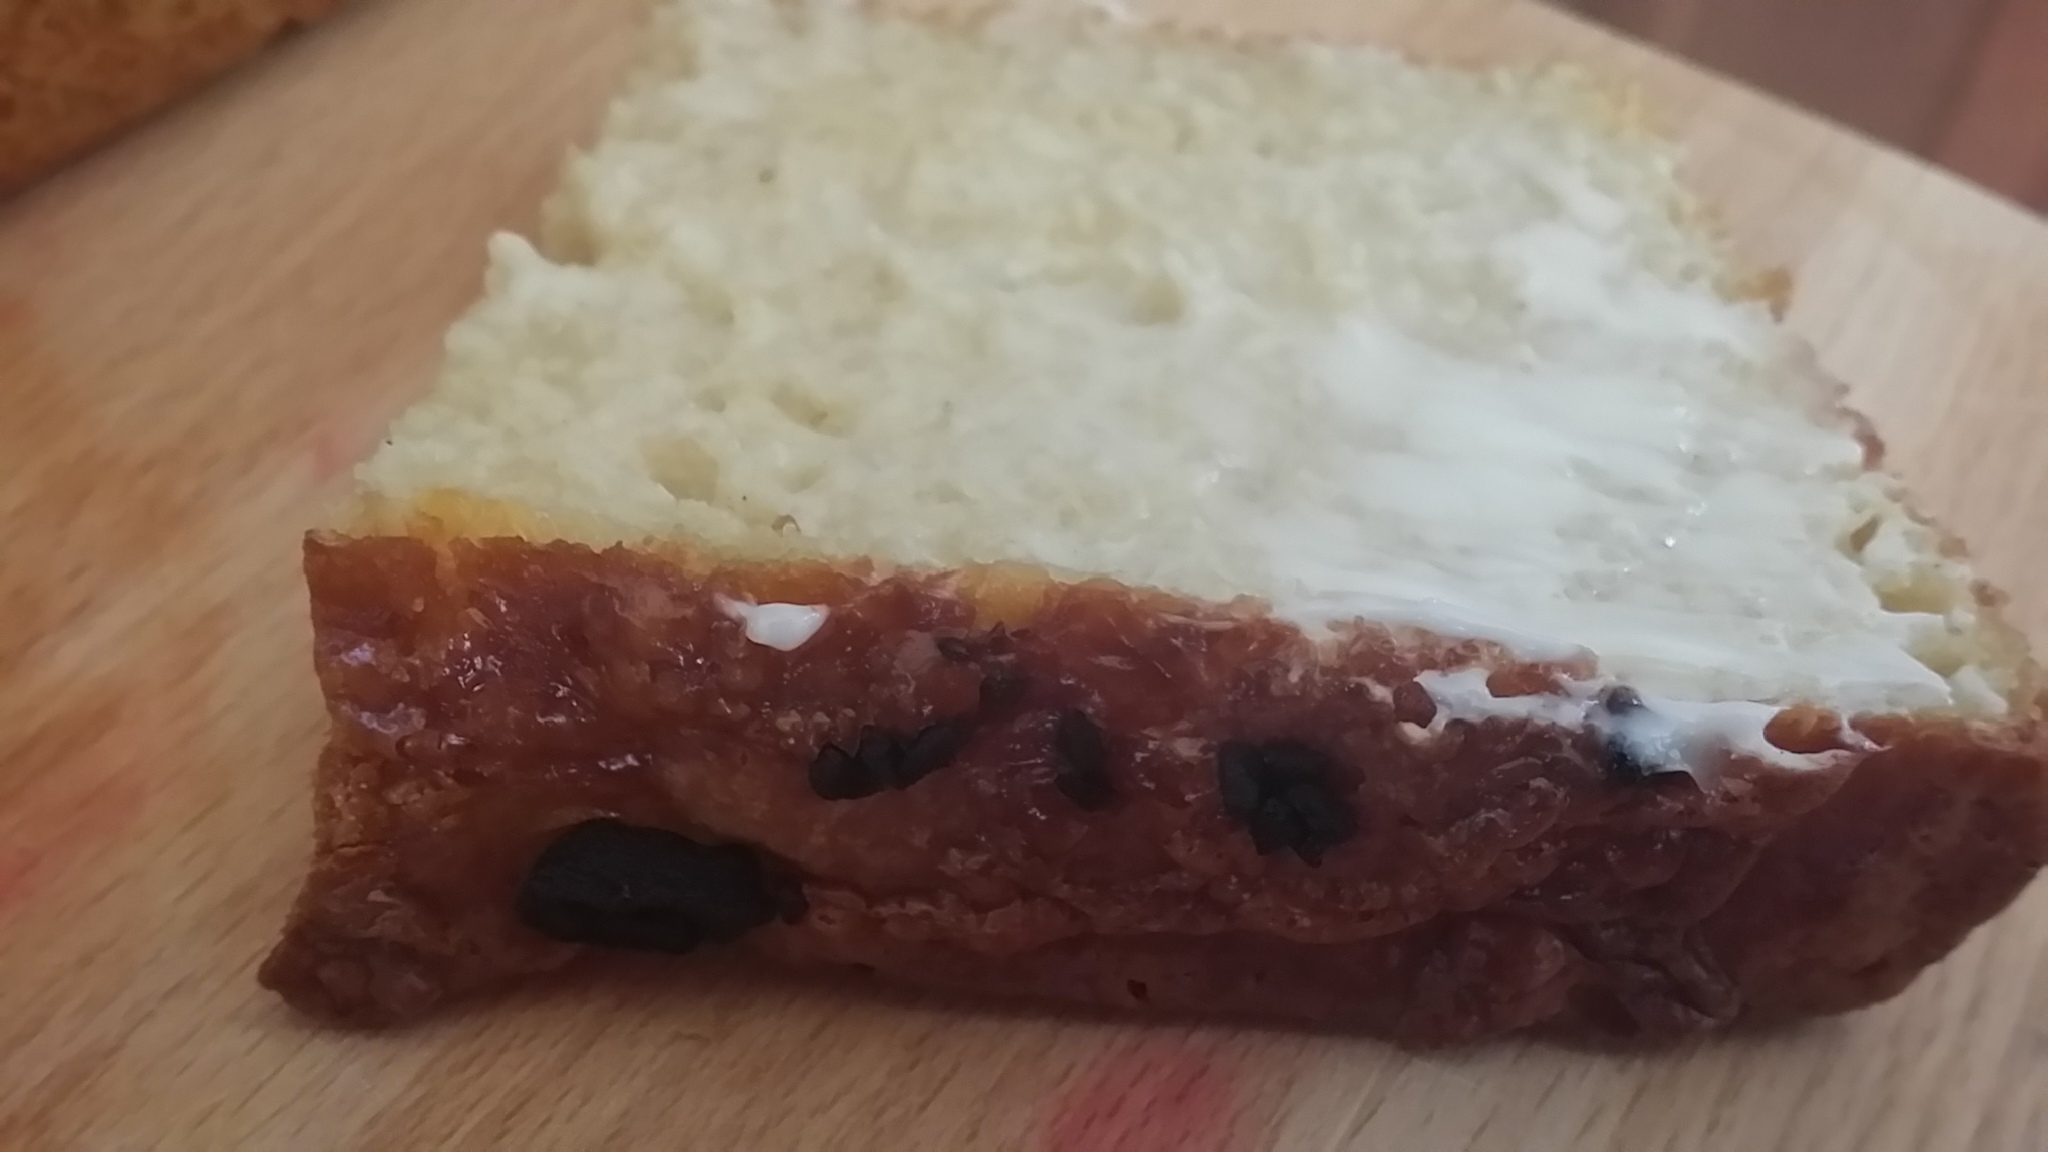
So James and I stood over the bread trying to decide whether to taste it before our guests arrived. We finally decided to taste it in case it was awful and poor Susan has to pretend she likes it, and the verdict is…..IT’S SO DELICIOUS.
I SERIOUSLY CANNOT BELIEVE HOW GOOD THIS BREAD IS!!!
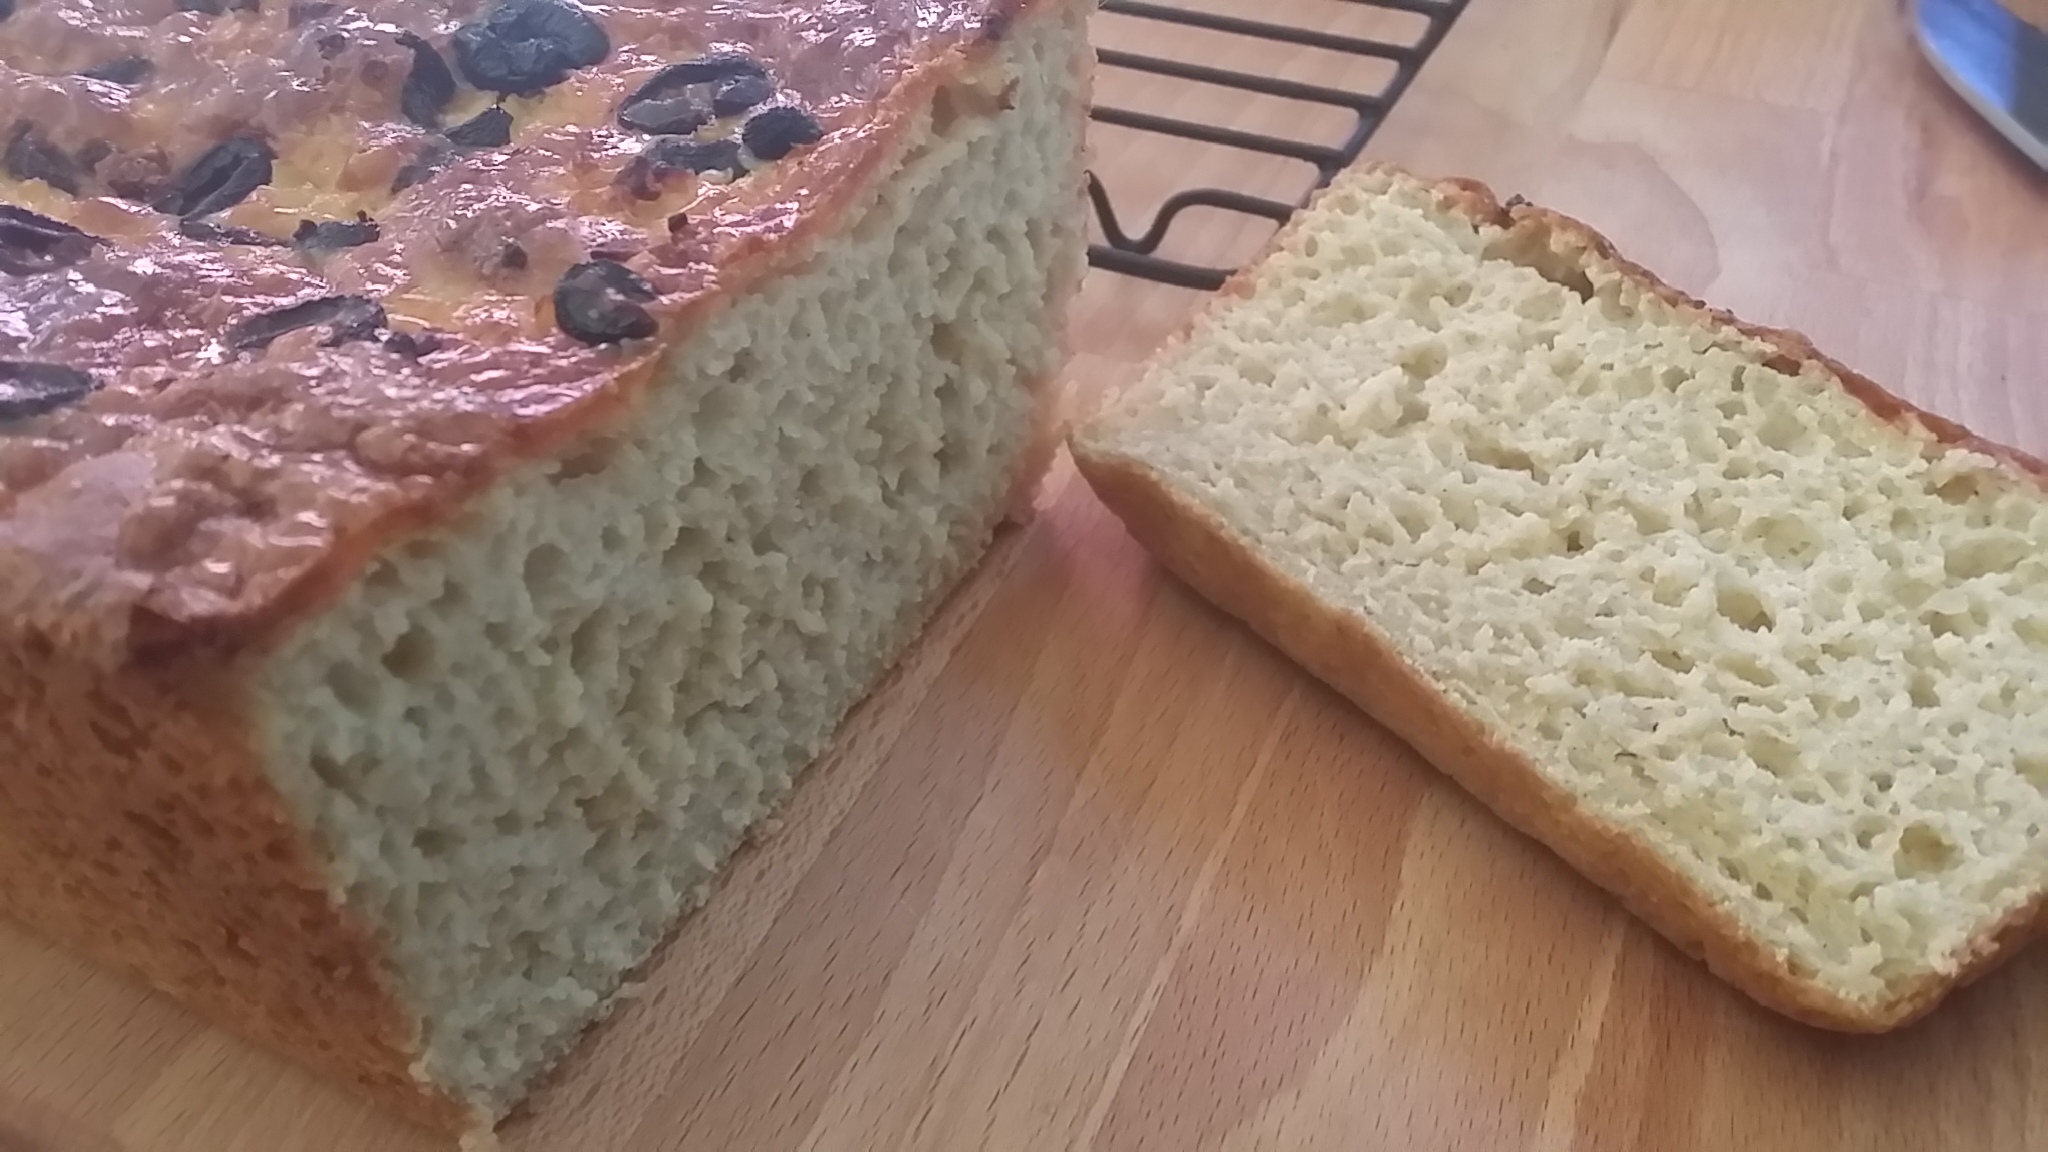
It must be the Bob’s flour mixture because it sure looks better than the loaf in the video. I am SO surprised because I’ve never had anything gluten-free turn out this well. Also, the steam-bath created by the cup of water may have helped create a better crust.
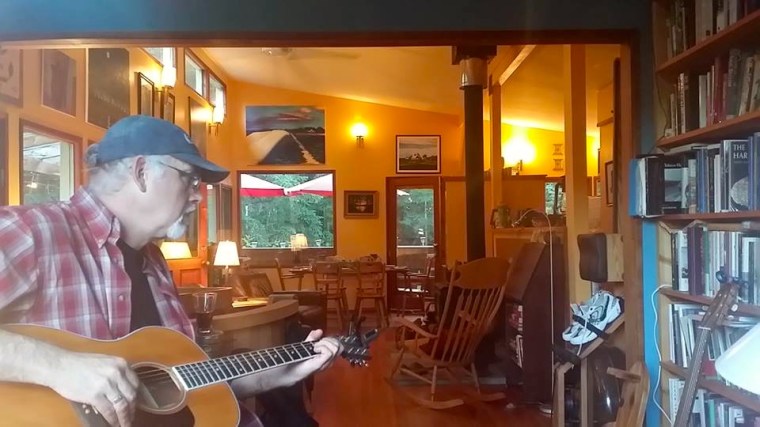
And here’s our cozy cabin as we await our weekend guests!
ACK! This morning, I jumped out of bed to make a loaf of my whole wheat bread. As I slid the loaf into the oven, I grabbed my mug of water to pour into the baking pan to create a steam oven. Unfortunately, it was in the same kind of mug as my coffee!!! Oh well, I guess we’ll see what kind of a crust coffee-and-almond-milk steam makes!
